The nubby club is framed by plastic retaining walls to create a form to pour the plaster into. The model and walls are lightly sprayed with PAM as a release agent.
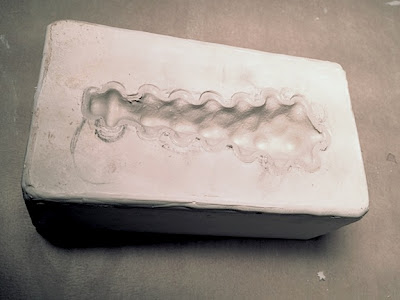
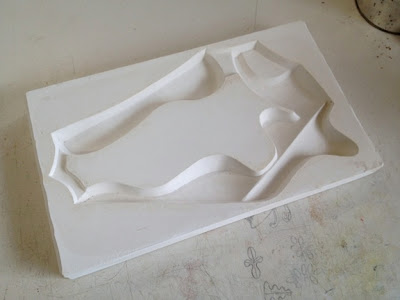
Here is the plaster mold after hardening. It still has the oil clay club in place which came out easily with the help of a pick to grab the oil clay and lift it out.
The mold is cleaned with a little naphtha to remove any oil residue. Now is also the time to clean the mold of any surface anomalies.
The mold is filled with Li-Qua-Che. After waiting 5 minutes the Li-Qua-Che is poured out leaving behind a 1/8" leather hard layer of Li-Qua-Che in the mold. In the photo you can see the Li-Qua-Che shell is pulling away from the plaster walls as it dries and shrinks.
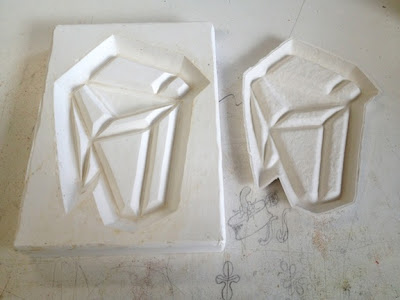
Here are the two cast sides pulled from the same mold. In theory these two sides should fit together perfectly. But due to the shrinkage ratio of the Li-Qua-Che, the edges shrink back more than the surface areas. This creates edges that are thin, pointy and uneven. Keep that in mind when building your model. All edges need to be extended so that in the edges of the finished casting can be sanded back to create smooth even joins.
So, here is the nubby club glued together and the seams filled with spackle. Note that the surface shows finger prints and boogers found on the original oil clay model. If you don't clean up the model and/or clean the surface of the mold, you'll be cleaning those finger prints and boogers off every casting.
Well, That concludes our week of playing with Li-Qua-Che. I haven't even touched our projects that used two part molds. But I think that's more than enough posting about this topic. Any more and I will need to open an online Li-Qua-Che store, and that would expose me to way to many questions pertaining to doll heads.


